happy magical monday! feelin’ crafty?

Hi guys! I thought I would show you the notebook I put together to keep track of blog stuff, plan my posts, etc! (This is NOT something I came up with; people have been doing this with Happy Planner discs for years!)
I just wanted to show you the one I made for myself and offer a FREE PRINTABLE of the “notebook paper” I made for the inside of mine!
♡♡♡♡♡♡♡♡♡
If you’d like to make your own notebook, here’s what you’ll need! ♡
• Mini Happy Planner discs (I get mine at Michaels!)
• Printer/Printer paper (I usually use 28lb paper for any planner inserts, but I went with standard printer paper for this because I wanted my notebook really full, so I went with a low cost paper.)
• Paper trimmer – Amazon, Michaels, etc!
• Disc punch – I use Happy Planner brand, purchased at Michaels
• Cardstock/decorative paper – Anything you want to use for a cover! Laminating it would be best!
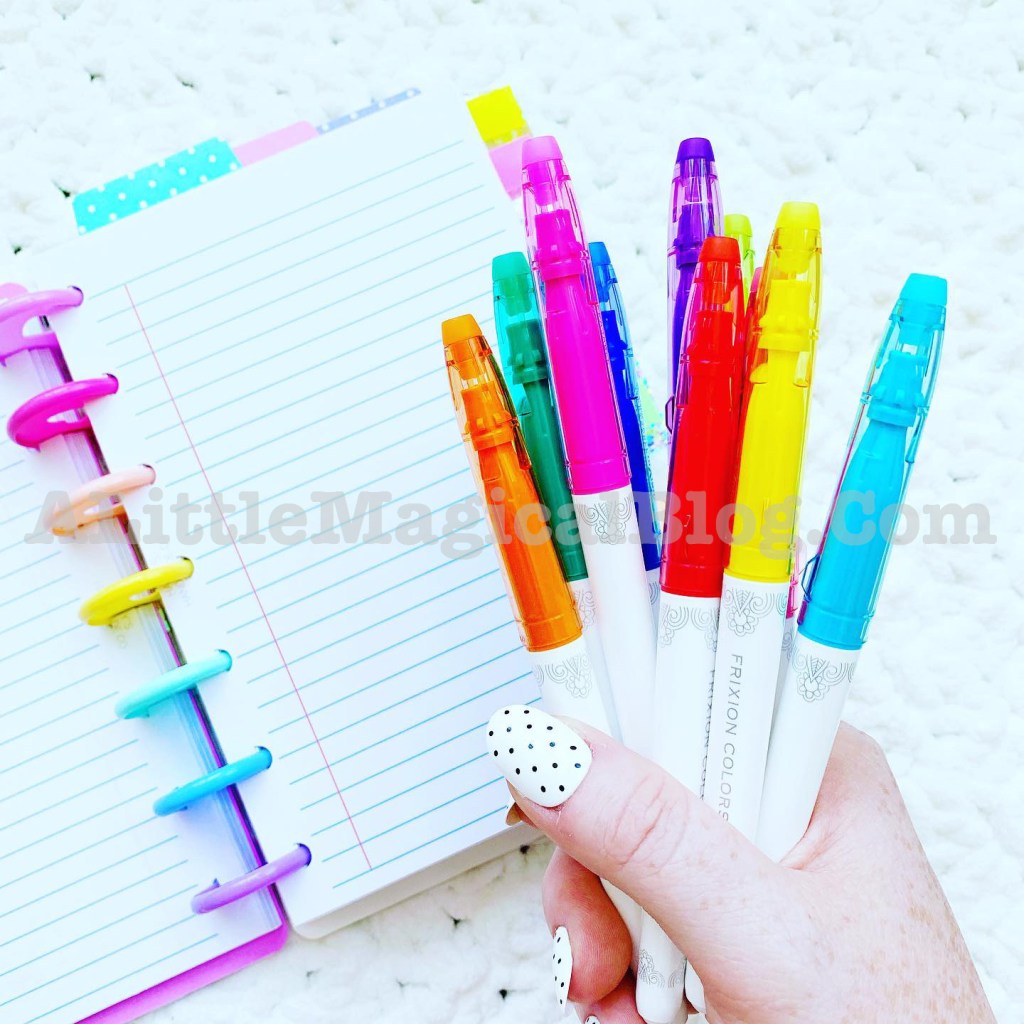
• Stickers/photos/etc – Anything you’d like to decorate it with!
• Tabs (To mark certain pages if you want)
Let’s get started! It’s extremely easy and you probably won’t even need my guidance but I’ll go step by step just in case!
- Download & print the FREE PRINTABLE below! (Print double sided at 100%)
2. Trim along the guidelines and punch sheets with the disc punch. Be careful not to do too many at once unless you have a heavy duty punch!
3. Carefully load your paper into the discs; I do small chunks at a time!
4. Choose your cardstock/decorative paper and decorate it with photos, stickers etc! MAKE IT YOU! Laminating it will give you extra sturdiness! Punch it and place one in the front and the back of your notebook!
5. Start using your notebook! You can use it as a journal, planner, anything you want! Add tabs if you’d like to mark certain pages!
THAT’S IT! HAVE FUN & THANKS FOR STOPPING BY!
COMING THIS WEEK: MAGICAL MICKEY KRISPIES – WHAT!?
SEE YA REAL SOON! ♡ HALEY

Published by