
♡♡♡♡♡♡♡
SPOOKY SEASON IS UPON US!
Happy Friday everyone! I am so excited for the fall season! Are you?!
I’ve been missing Disney so much, especially now that it’s fall. This is my FAVORITE time of year in the Disney parks! The Fall and Halloween decor, the themed overlays on the attractions, the seasonal treats and OF COURSE the sippers and popcorn buckets! (Which I am so sad I’m missing out on this year, as Disneyland is still closed. Tears.)
So I needed a little piece of Fall-oween themed Disneyland here at home with me.
So let’s make some MAGICAL PUMPKIN MICKEYS!
WHAT YOU’LL NEED:
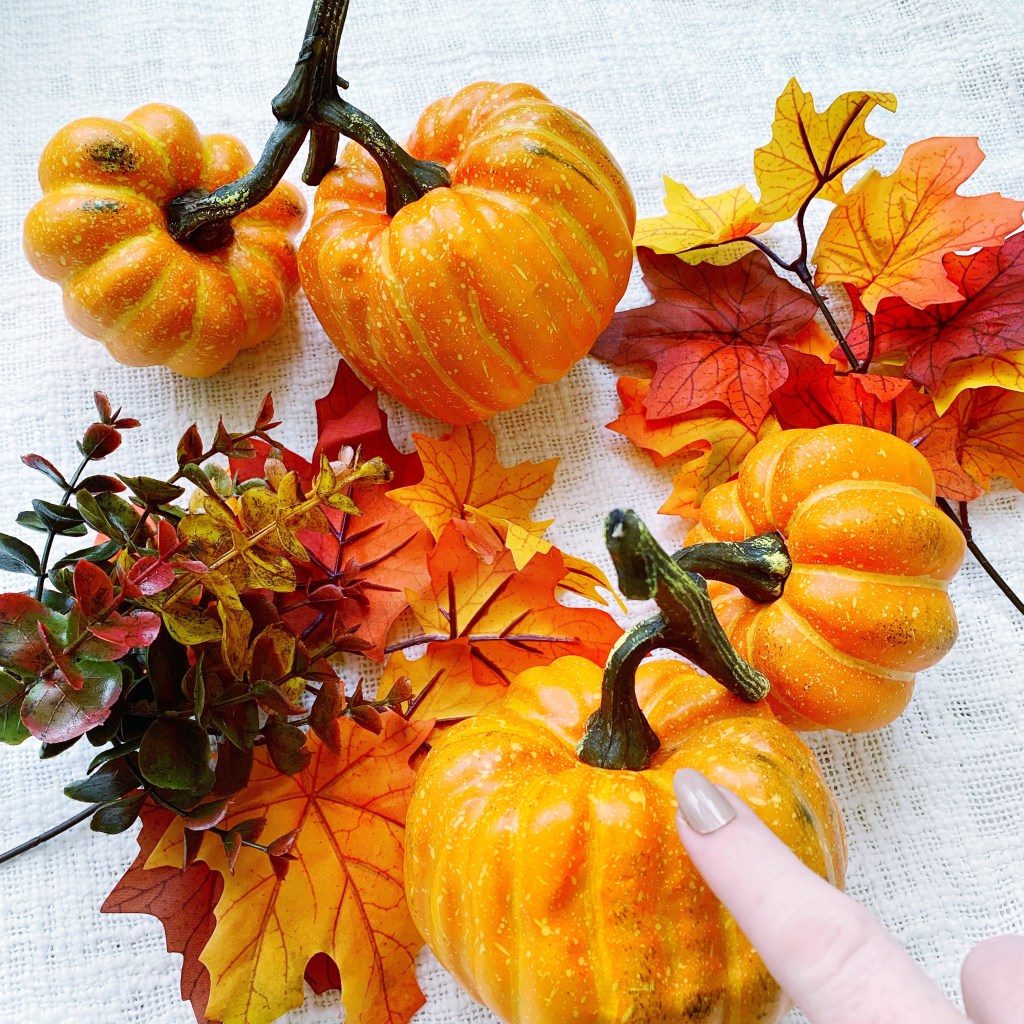
- THREE Pumpkins – 1 larger one, and 2 smaller ones (for the ears)
- Your pumpkins can be any size you want! Just try to keep the ears proportionate to the head with Mickey Mouse in mind!
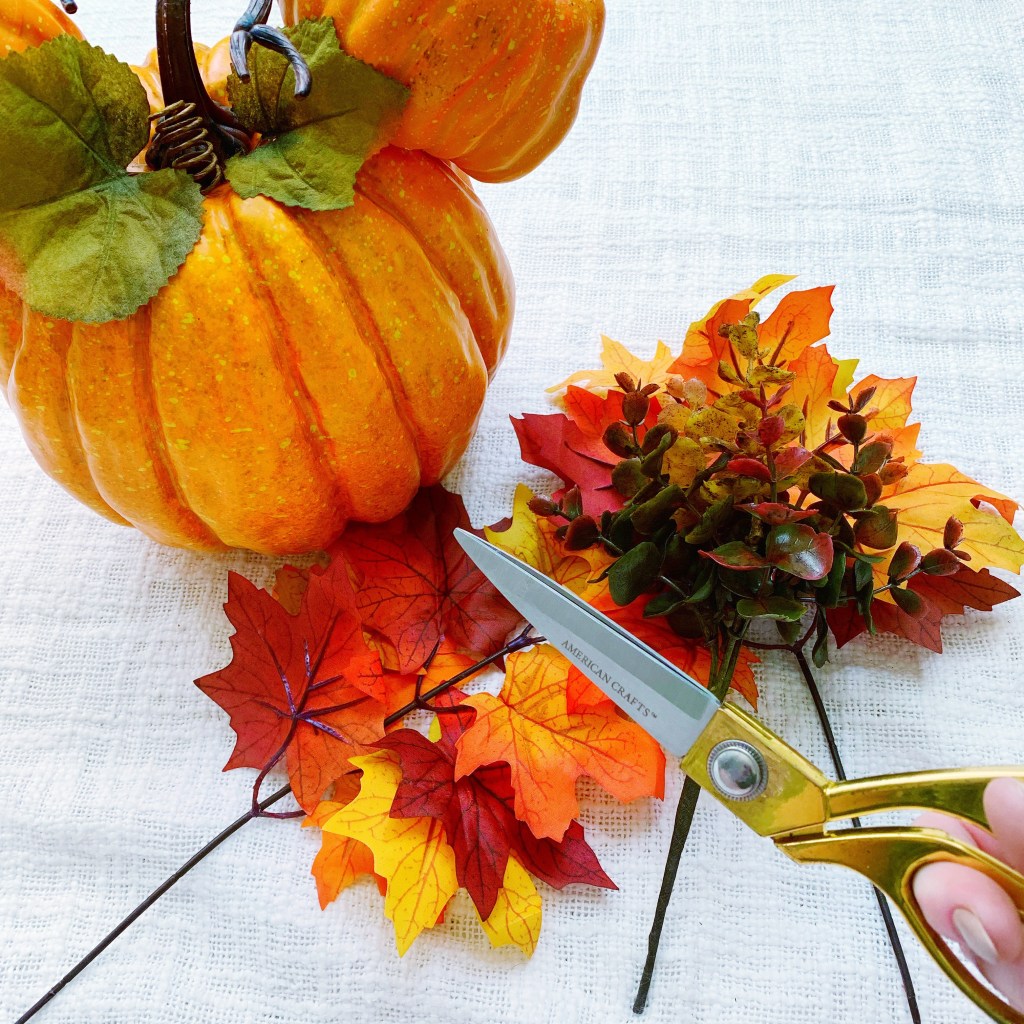
- Some fall colored leaves, greenery; anything you want to decorate your pumpkin. Something to give it a little extra pizazz! (Yes, I totally just used the word pizazz!)
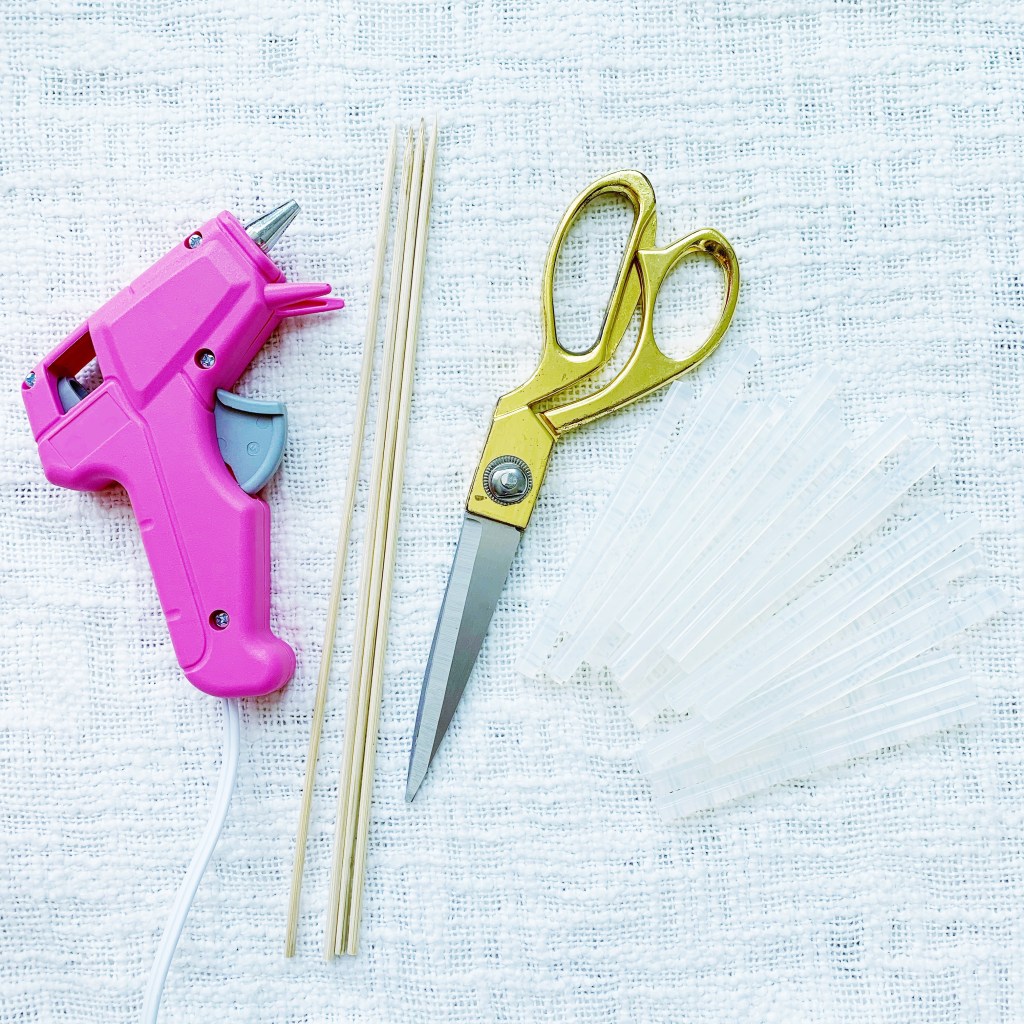
- Scissors
- Hot glue gun & hot glue sticks
- Some skinny wood skewers – (optional). You could just use hot glue only, however this gives your pumpkin a lot more sturdiness! This way, you can pack it away and bring it back as decor for many years to come!
AND THAT’S ALL!
I found my pumpkins at Hobby Lobby and they were 40% off. In total, this pumpkin diy cost me less than $20 and took less than 20 minutes! Also – you may be able to find cheaper pumpkins! I just really loved the natural gourd look to these ones! So hunt for the best bargains and gather your supplies!
LET’S GET STARTED!

FIRST THINGS FIRST!
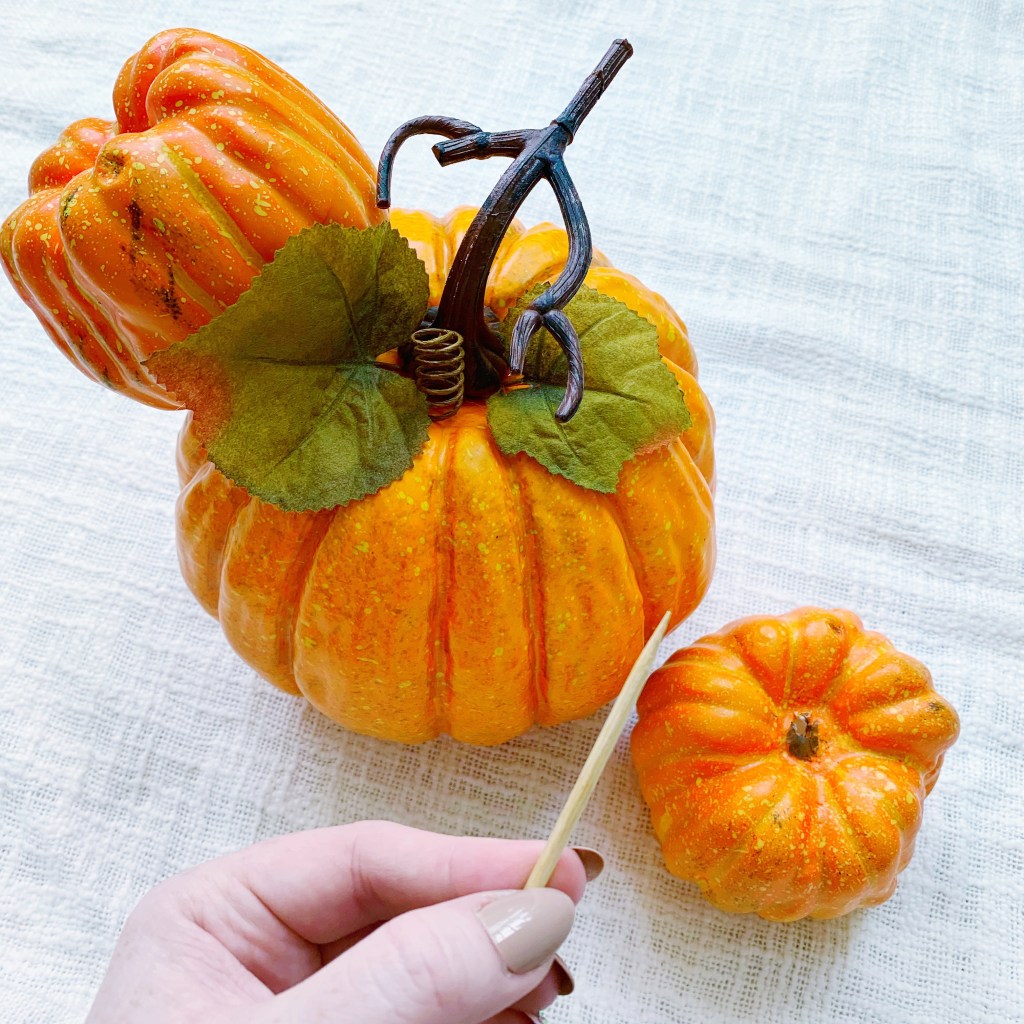
Grab your 2 smaller pumpkins and gently twist and pull the stems off. Depending on the pumpkins you choose, the method of getting rid of the stems may be different. You may have to cut them off. But mine were super easy to gently twist and pull to remove. And since mine were attached to even smaller pumpkins, I get 2 extra pumpkins to use as decor!

Okay, next step!
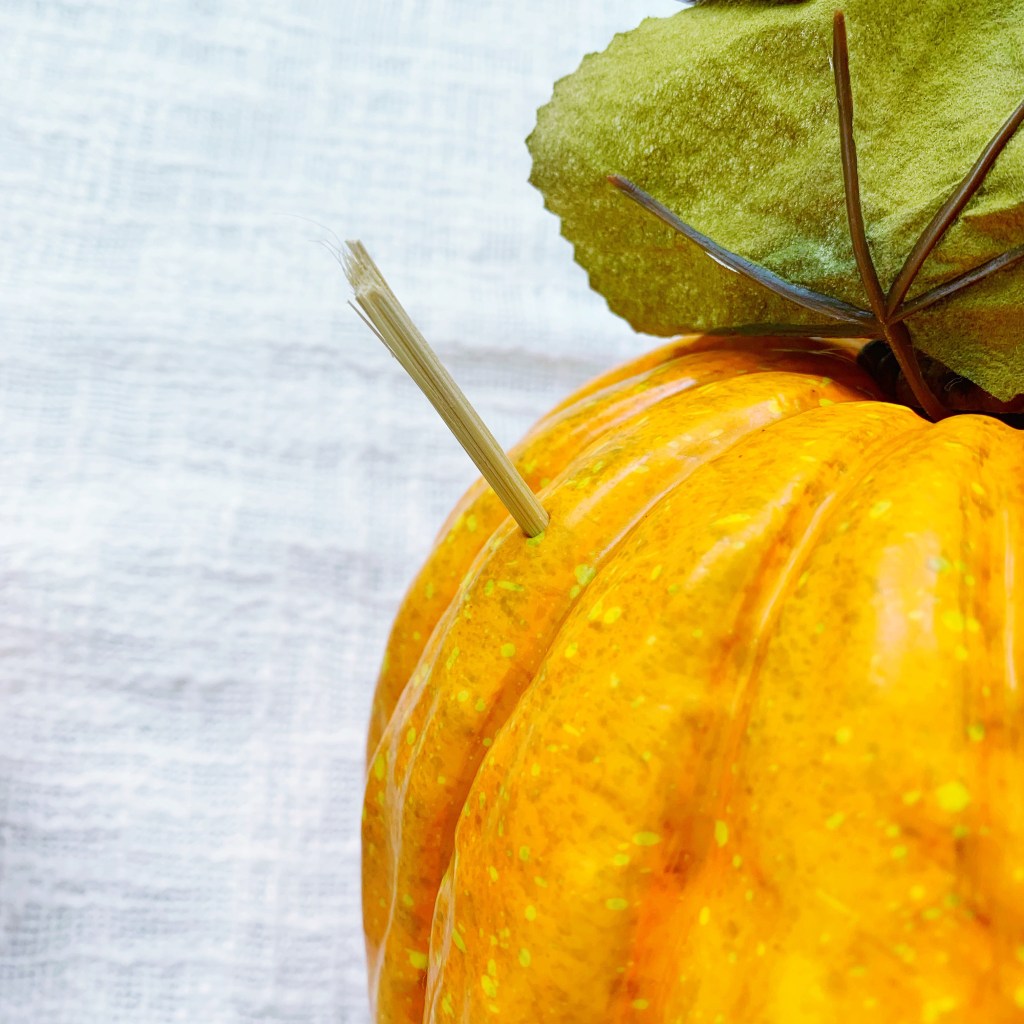
Break off about a 3 inch piece of your skewer (the pointy side), and choose where on your large pumpkin you want the ears to sit. (Mark the spot with a pen if that will make it easier for you!) Poke your skewer in. Then you’ll remove the skewer and do the same thing to the bottom of your small pumpkin. Leave the skewer in the small pumpkin.

You’re doing great! NEXT STEP!
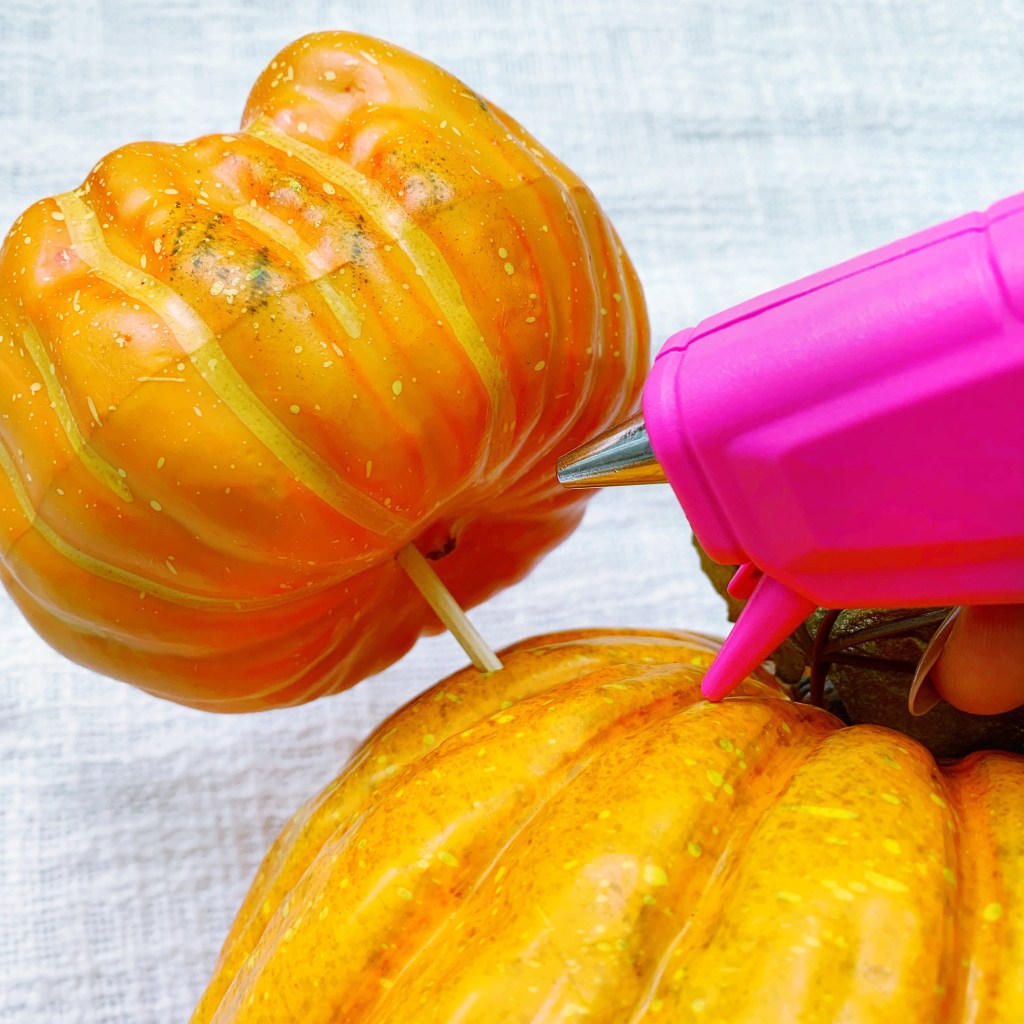
Now you want to take your small pumpkin with the skewer and start pushing the skewer into the large pumpkin. But stop about half way! – Because now we’re going to add some hot glue underneath to keep the ear locked into place.
You’re just going to put some hot glue around the bottom of the small pumpkin with the skewer and now push the ear down into the large pumpkin. It should feel pretty locked into place!
NOW WE REPEAT ON THE OTHER SIDE!
Now you should have your PUMPKIN MICKEY!
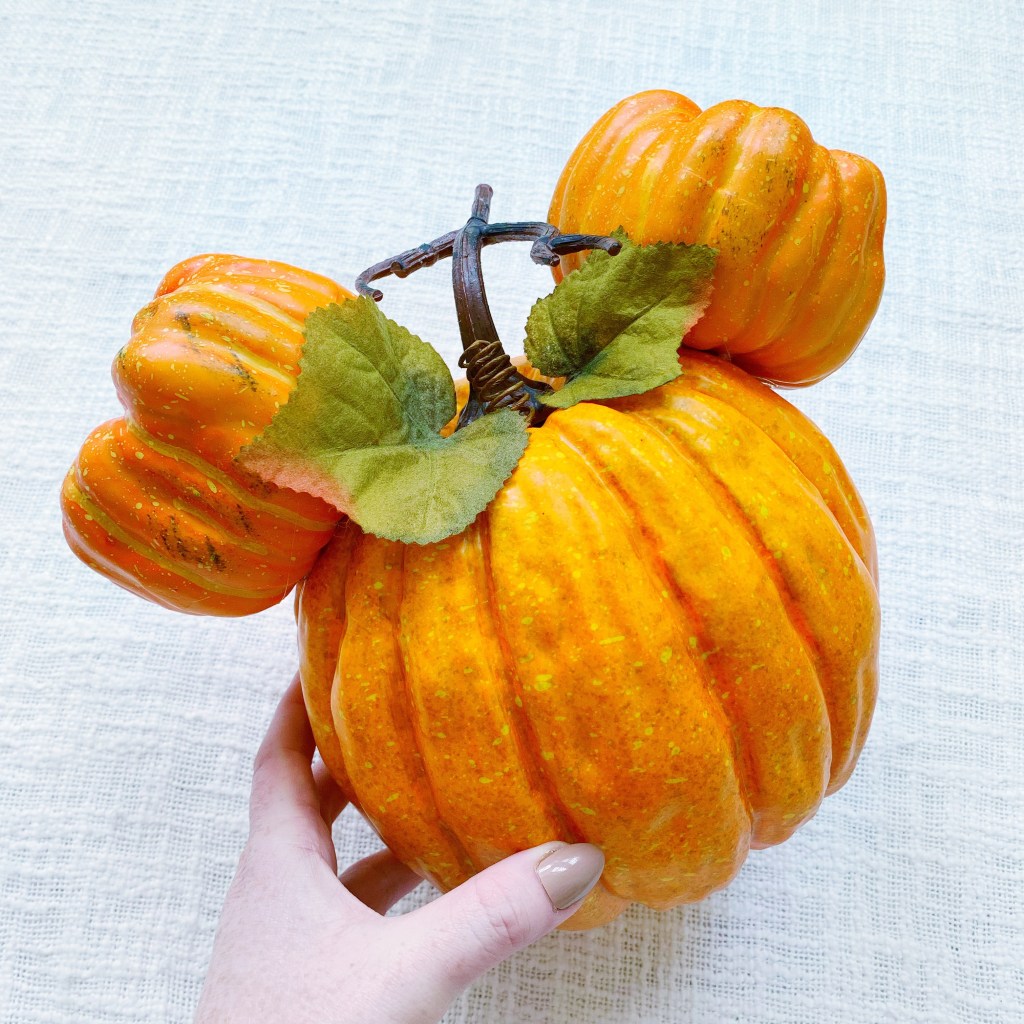
IT’S SO CUUUUUUUUTE!
♡
NOW LET’S MAKE IT EVEN CUTER!
This is the part where you get to do whatever you want! Add your embellishments, make it fun! You’re just going to use your hot glue gun to attach your leaves, greenery or any decoration you bought! I just snipped off a few leaves and glued them on. Add as many or as little as you’d like! Whatever you lil’ heart desires!
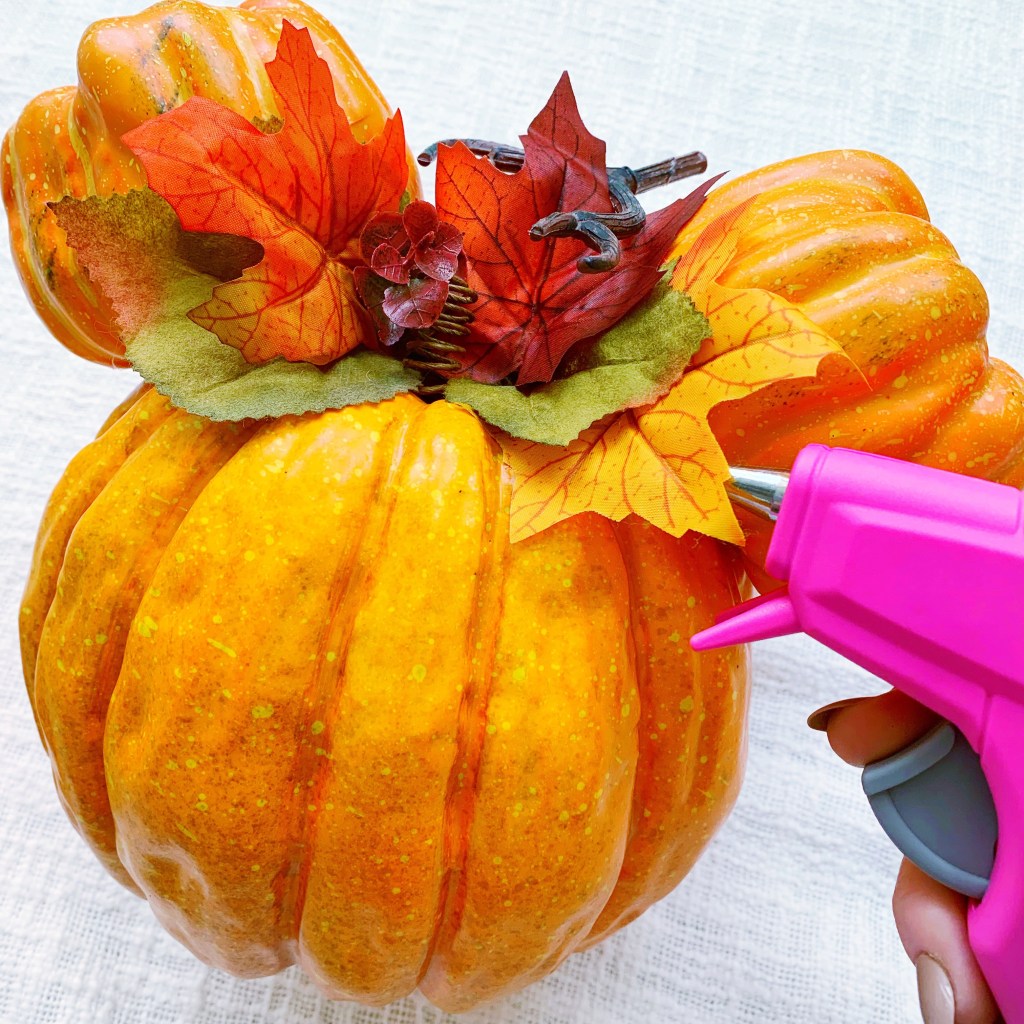
And voila! That is it! You are done!
Now you have your very own piece of fall-oween Disney inspired magic in your home! I may even have to make a few more of these! I don’t think one is enough! Hehehe!
I hope you loved this as much as I loved making it and sharing it with all of you!
I’d love to see your creation if you make one! Please tag @haleyshandmadeco on Instagram and you can use the hashtag:
#alittlemagicalblog
This way we are all able to see what we create in one magical place! Love you guys and hope you have a SAFE, excellent weekend! STAY CREATIVE! It’s such a healthy way to express ourselves!
See ya real soon! ♡ Haley


Published by